Angular - PrimeNG
本章将讨论 Angular 的 PrimeNG library,包括安装和配置、使用方法、示例、优势等内容。
什么是 PrimeNG?
PrimeNG 是一个专为 Angular 应用设计的 cohesive UI component library。它提供了一系列开箱即用的 UI 组件(例如 themes、icons 和 components),如“输入框”、“按钮”、“表格”、“列表”、“卡片”等,用于构建用户界面。它允许开发者将这些组件集成到应用中,而无需从头构建。
不过,PrimeNG 不直接兼容“React”、“Vue”或其他前端框架,因为它是为 Angular 设计的。
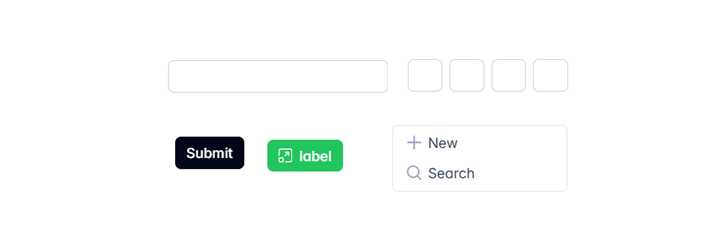
以下是 PrimeNG library 的几个 UI components,其代码可以直接在你的 Angular 应用中使用:
为什么在 Angular 中使用 PrimeNG?
以下是几个在你的 Angular 项目中使用 PrimeNG library 的理由:
- 易于集成: PrimeNG 非常容易与你的 Angular 应用集成。
- 响应式且移动端友好: 使用 PrimeNG UI components 开发的 Angular 应用在各种屏幕尺寸下都具有很好的兼容性和响应性。
- 开源与付费版本: PrimeNG 提供免费版本,包含许多有用且强大的组件,同时也提供高级功能的付费高级版本。
- 频繁更新: 该 library 得到积极维护并定期更新,从而引入最新功能和最佳实践。
安装和配置
PrimeNG UI Component library 是一个第三方 library。要在你的应用或项目中使用其组件,需要先安装它并添加所有必需的依赖,然后才能使用。
以下是在项目中安装 PrimeNG library 的分步过程:
步骤 1: 使用以下命令在你的 Angular 项目中安装 PrimeNG library:
npm install primeng@<version>
这里,@<version> 表示你想要安装的版本,该版本应与你的项目兼容。例如:npm install primeng@17.0.0。
重要提示! 如果不指定特定版本,使用简单的 npm install primeNG 命令可能会导致错误,因为项目版本可能与你安装的 library 版本不同。
步骤 2: 打开 angular.json 文件,并在 styles 部分的 build 和 test 部分中添加以下代码:
"node_modules/primeng/resources/themes/lara-light-indigo/theme.css",
"node_modules/primeng/resources/primeng.min.css",
完成上述步骤后,安装即告完成,现在我们可以在项目中使用 PrimeNG library 的组件了。
使用以下命令安装 PrimeNG icons,它提供各种图标,如“社交媒体图标”、“垃圾桶”、“查看”、“编辑”图标等,并将其添加到 styles 部分:
npm install primeng@version primeicons
如何在项目中使用 PrimeNG?
按照以下步骤在应用中使用所需的 PrimeNG 组件:
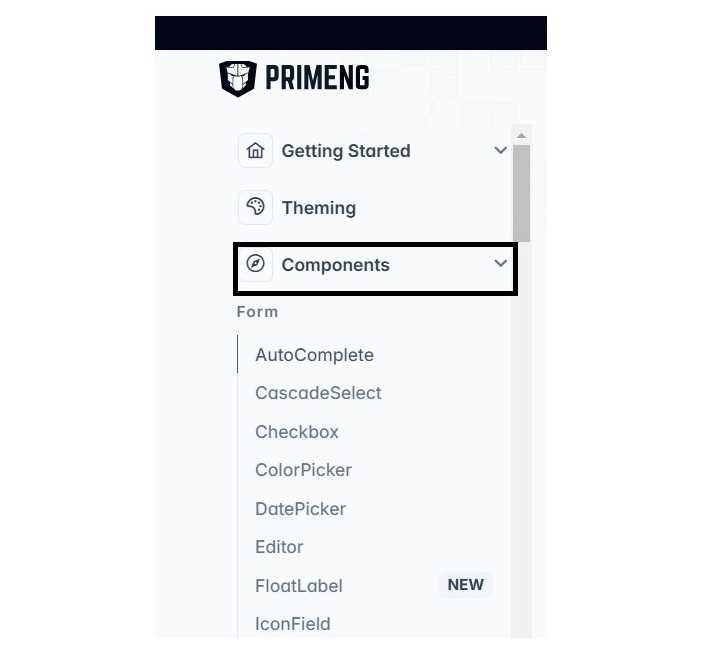
步骤 1: 打开 PrimeNG 网站并浏览所有组件:
添加 InputText 组件
InputText 是标准 input 元素的扩展,带有 "theming" 和 "keyfiltering" 功能。要将 InputText 组件添加到你的项目模板中,需要按照以下步骤操作:
步骤 2: 打开你想在模板中使用的那款 InputText 组件 在 PrimeNG 网站 上的文档:
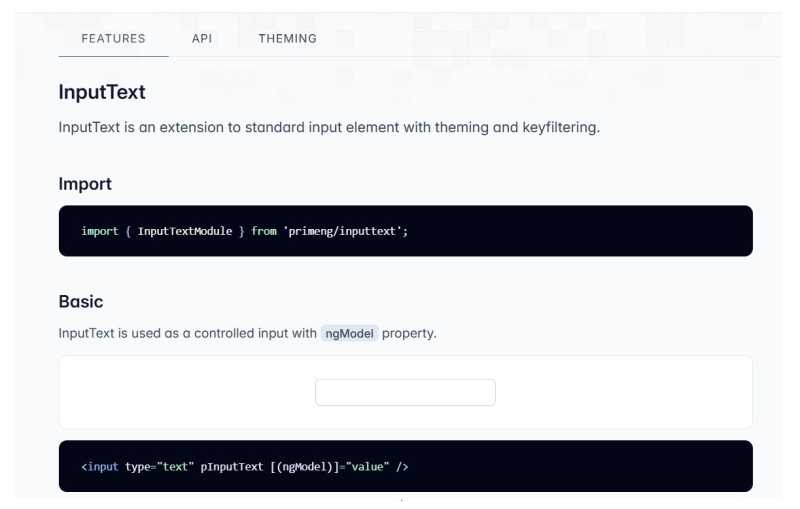
步骤 3: 在你的 component 或 module 中导入并添加 InputText 组件 API,以便在模板中访问和使用它:
app.ts
import { Component } from '@angular/core';
import { CommonModule } from '@angular/common';
import { RouterOutlet } from '@angular/router';
import { InputTextModule } from 'primeng/inputtext';

@Component({
  selector: 'app-root',
  imports: [CommonModule, RouterOutlet, InputTextModule],
  templateUrl: './app.html',
  styleUrl: './app.css'
})
export class App {
  title = 'myApp';
}
步骤 4: 在你的模板中(例如 app.component.html)添加以下 InputText 内置代码:
<h3>Angular with PrimeNG</h3>
<input type="text" pInputText placeholder="Input text....."/>
步骤 5: 添加上述代码后,使用以下命令运行应用:
ng serve
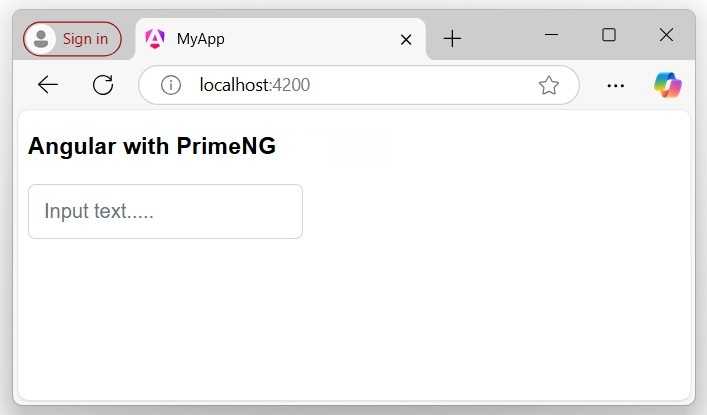
输出
导航到 URL localhost:4200 以查看上述代码的输出:
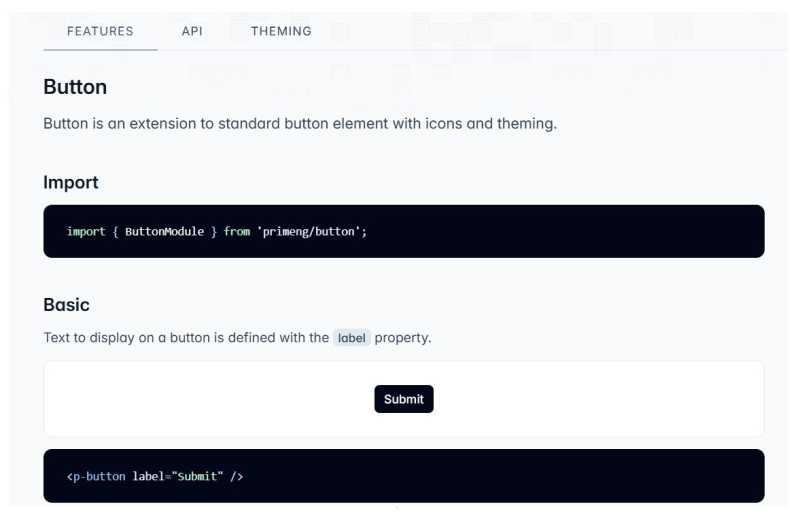
添加 Button 组件
让我们看看如何将 Button 组件添加到你的项目模板中:
步骤 1: 就像 InputText 组件一样,打开 PrimeNG 网站上的 Button 组件,并转到功能部分:
步骤 2: 在你想使用的 component 或 module 中导入并添加 API(例如 app.ts):
app.ts
import { Component } from '@angular/core';
import { CommonModule } from '@angular/common';
import { RouterOutlet } from '@angular/router';
import { InputTextModule } from 'primeng/inputtext';
import { ButtonModule } from 'primeng/button';

@Component({
  selector: 'app-root',
  standalone: true,
  imports: [CommonModule, RouterOutlet, InputTextModule, ButtonModule],
  templateUrl: './app.html',
  styleUrl: './app.css'
})
export class App {
  title = 'myApp';
}
步骤 3: 在你的模板中添加 Button 组件(例如 app.html):
app.html
<h3>Angular with PrimeNG</h3>
<input type="text" pInputText placeholder="Input text....."/>
<p-button label="Submit" />
输出
上述代码的输出将显示如下:
