Fetch API - Request
在 Fetch API 中,Request 接口用于创建资源请求。它是除了 fetch() 函数之外创建请求的另一种方式。它还提供了各种属性和方法,我们可以应用到请求上。因此,首先,我们将学习 Request() 构造函数,然后是如何发送请求,以及 Request 接口提供的方法和属性。
构造函数
要创建 request 对象,我们可以使用 Request() 构造函数配合 new 关键字。该构造函数包含一个必需参数,即资源的 URL,其他参数是可选的。
语法
const newRequest = new Request(resourceURL)
Or
const newRequest = new Request(resourceURL, optional)
Request() 构造函数具有以下参数:
resourceURL − 我们想要获取的资源。其值可以是资源 URL 或 Request 对象。
Options − 提供请求的附加设置的对象,自定义选项如下:
method − 表示请求方法,如 GET、POST、PUT 和 DELETE。
headers − 为请求设置 header。
body − 为请求添加数据。此参数不被 GET 或 HEAD 方法使用。
mode − 设置请求的模式,如 cors、same-origin、no-cors 或 navigate。mode 参数的默认值为 cors。
credentials − 设置用于请求的 credentials,如 omit、same-origin 或 include。此参数的默认值为 same-origin。
cache − 设置请求的 cache 模式。
redirect − 用于重定向模式,如 follow、error 或 manual。默认情况下,该参数设置为 follow 值。
referrer − 表示请求的 referrer 的字符串,如 client、URL 或 no-referrer。此参数的默认值为 about:client。
referrerPolicy − 用于设置 referrer 策略。
integrity − 用于设置给定请求的 subresource integrity 值。
keepalive − 用于检查是否为多个请求/响应创建持久连接。
signal − 表示 AbortSignal 对象,用于与请求通信或中止请求。
priority − 用于设置相对于其他请求的请求优先级。此参数的可能值为:
high − 将当前 fetch 请求的优先级设置为相对于其他请求的 high。
low − 将当前 fetch 请求的优先级设置为相对于其他请求的 low。
auto − 自动确定当前 fetch 请求的优先级。
发送请求
要发送请求,我们必须首先使用 Request 构造函数及其附加参数(如 header、body、method、资源 URL 等)创建一个 Request 对象。然后将此对象传递给 fetch() 函数,以向服务器发送请求。现在 fetch() 函数返回一个 promise,该 promise 将以 response 对象解析。如果遇到错误,则执行 catch 块。
示例
在下面的程序中,我们创建一个脚本,使用 Request 对象发送数据。为此,我们使用 Request() 构造函数创建一个 request 对象,并附带以下参数:
URL − 表示资源 URL。
method − 这里我们使用 POST method,表示我们正在向服务器发送数据。
body − 包含我们要发送的数据。
header − 它表明数据是 JSON 数据。
现在我们将 request 对象传递给 fetch() function 来发送请求,处理服务器返回的 response,并处理可能发生的错误。
<!DOCTYPE html>
<html>
<body>
<script>
// 创建 request 对象
const myRequest = new Request("https://jsonplaceholder.typicode.com/todos", {
// 设置 POST 请求
method: "POST",
// 添加包含数据的 body
body: JSON.stringify({
id: 321,
title: "Kirti is a good girl",
}),
// 设置 header
headers:{"Content-type": "application/json; charset=UTF-8"}
});
fetch(myRequest)
// 处理响应
.then(response => response.json())
.then(myData => {
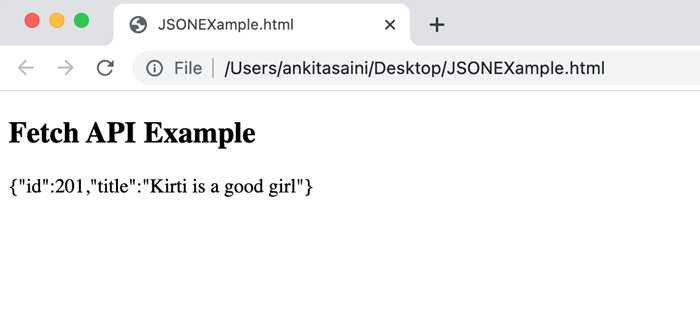
console.log("Data Sent Successfully");
// 显示输出
document.getElementById("sendData").innerHTML = JSON.stringify(myData);
})
// 处理错误
.catch(err=>{
console.error("We get an error:", err);
});
</script>
<h2>Fetch API Example</h2>
<div>
<!-- 显示检索到的数据-->
<p id="sendData"></p>
</div>
</body>
</html>
输出
实例属性
Request 接口提供的属性是只读属性。常用的属性包括:
| Sr.No. | Property & Description |
|---|---|
| 1 | Request.url 此属性包含给定请求的 URL。 |
| 2 | Request.body 此属性包含给定请求的 body。 |
| 3 | Request.bodyUsed 此属性用于指示请求中存在的 body 是否已被使用。其值为 boolean。 |
| 4 | Request.destination 此属性用于指示请求的目的地。 |
| 5 | Request.method 此属性包含请求方法,如 GET、POST、PUT 和 DELETE。 |
| 6 | Request.headers 此属性包含请求的 header 对象。 |
| 7 | Request.cache 此属性包含给定请求的 cache 模式。 |
| 8 | Request.credentials 此属性包含给定请求的 credentials。 |
| 9 | Request.mode 此属性包含给定请求的 mode。 |
示例
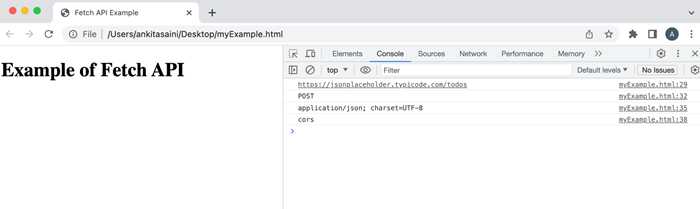
在下面的程序中,我们使用了 Request 接口提供的属性(如 url、method、headers 和 mode)。
<!DOCTYPE html>
<html>
<head>
   <title>Fetch API Example</title>
</head>
<body>
   <h1>Example of Fetch API</h1>
<script>
   // 创建 request 对象
   const myRequest = new Request("https://jsonplaceholder.typicode.com/todos", {
      // 设置 POST 请求
      method: "POST",

      // 添加包含数据的 body
      body: JSON.stringify({
         id: 321,
         title: "Kirti is a good girl",
      }),
      // 设置 header
      headers:{"Content-type": "application/json; charset=UTF-8"},
      mode: "cors"
   });
   // 显示请求的 url
   console.log(myRequest.url);

   // 显示请求方法
   console.log(myRequest.method);

   // 显示请求的 header
   console.log(myRequest.headers.get('content-Type'));

   // 显示请求的 mode
   console.log(myRequest.mode);
</script>
</body>
</html>
输出
方法
以下是 Request 接口常用的方法 −
| 序号 | 方法 & 描述 |
|---|---|
| 1 | Request.arrayBuffer() 此方法用于将请求体的 ArrayBuffer 表示解析为 promise。 |
| 2 | Request.blob() 此方法用于将请求体的 blob 表示解析为 promise。 |
| 3 | Request.clone() 此方法用于创建当前请求的副本。 |
| 4 | Request.json() 此方法用于将请求体解析为 JSON,并以解析结果解析 promise。 |
| 5 | Request.text() 此方法用于将请求体的文本表示解析为 promise。 |
| 6 | Request.formData() 此方法用于将请求体的 formData 表示解析为 promise。 |
示例
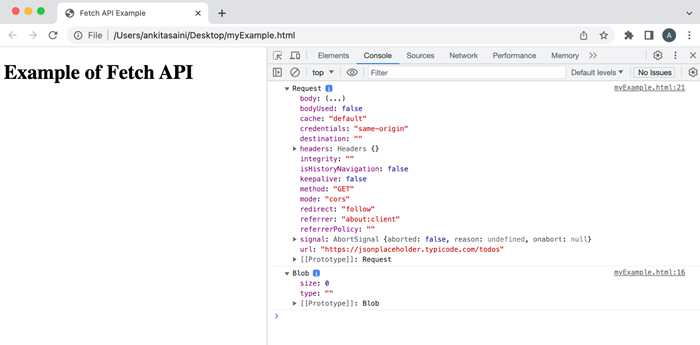
在以下程序中,我们使用了 Request 接口提供的方法(如 blob、clone 等)。
<!DOCTYPE html>
<html>
<head>
   <title>Fetch API Example</title>
</head>
<body>
   <h1>Example of Fetch API</h1>
<script>
   // 创建请求对象
   const myRequest = new Request("https://jsonplaceholder.typicode.com/todos");

   // 使用 blob() 方法
   myRequest.blob()
   .then(data =>{
      console.log(data)
   });

   // 使用 clone() 方法创建请求的副本
   const duplicate = myRequest.clone();
   console.log(duplicate);
</script>
</body>
</html>
输出
结论
这就是 Request 接口在 Fetch API 中的工作方式。它提供了多种构建和自定义请求的方法。或者可以说,它为请求提供了灵活性和更多控制。在下一篇文章中,我们将看到 Response 接口如何在 Fetch API 中使用。